Injury Master
 Claims Master
 Premium Master
 Data Master
 Master Apps
Email Signature
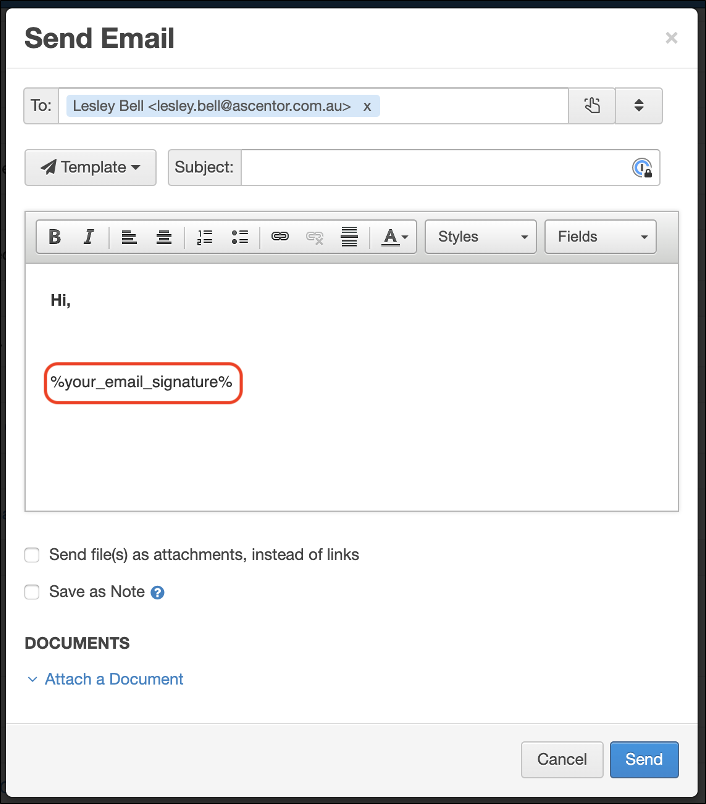
Injury Master allows users the ability to personalise their email signatures to include any text or images they desire.
Your personalised email signature will appear by default on the bottom of any emails you send out of Injury Master.

Email signatures are edited by following the Edit Profile option under the Profile Settings in the Blue Bar.
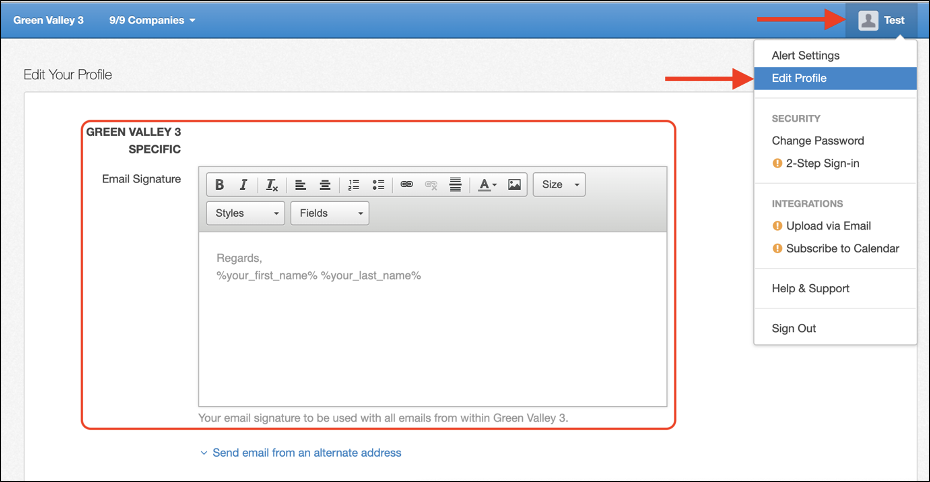
By default, your email signature shows the following:
Regards,
%your_first_name% %your_last_name%
You can include the following in your email signature:
- Text – typing or copy/paste (e.g. from your organisation email)
- Fields – Injury Master smart fields selected from drop-down list
- Links – URL or email which can be opened
- Images – from the account server or uploaded from your files
Links
To enter a link into your email signature, use the following steps:
- Highlight the text you wish to add the link to
- Select the Link icon in the email signature settings bar
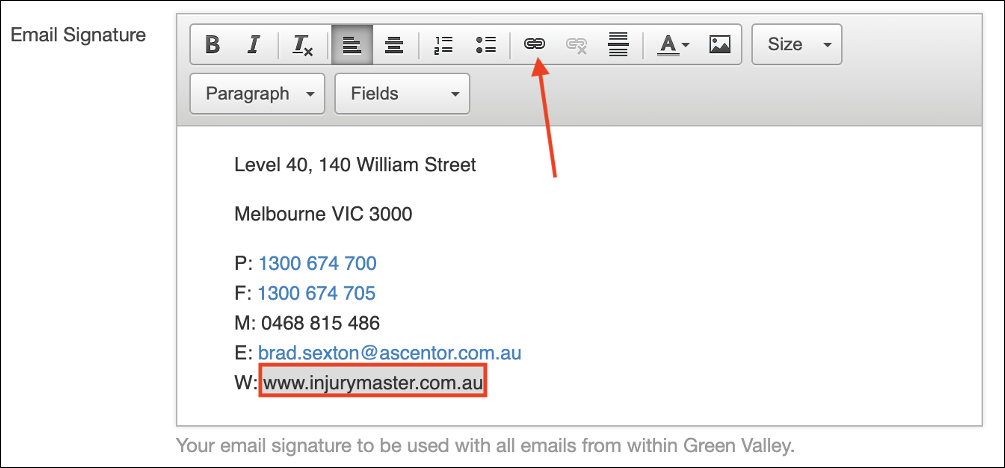
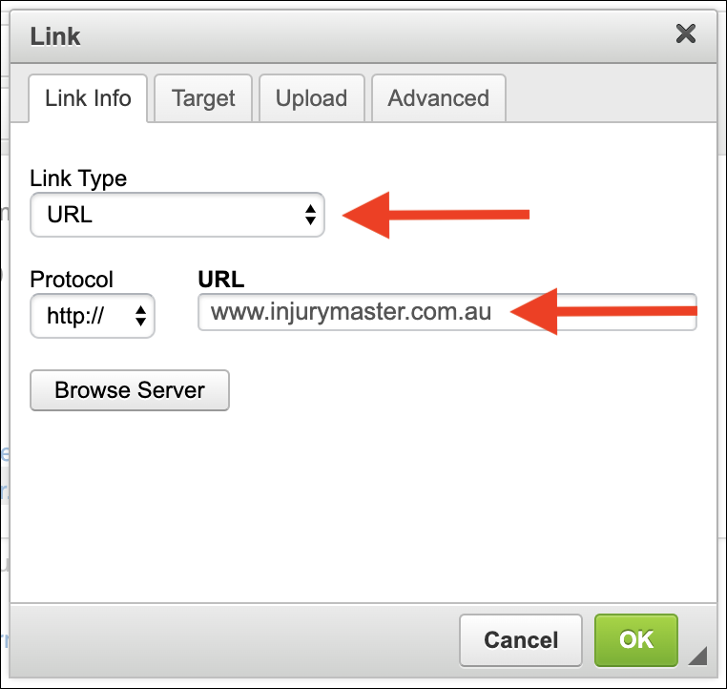
- Select Link Type from drop-down list
- Fill in the relevant information according to Link Type
- Select OK
The link will now be entered into the email signature. Links can easily be removed by placing the cursor within the link and selecting the Unlink icon.
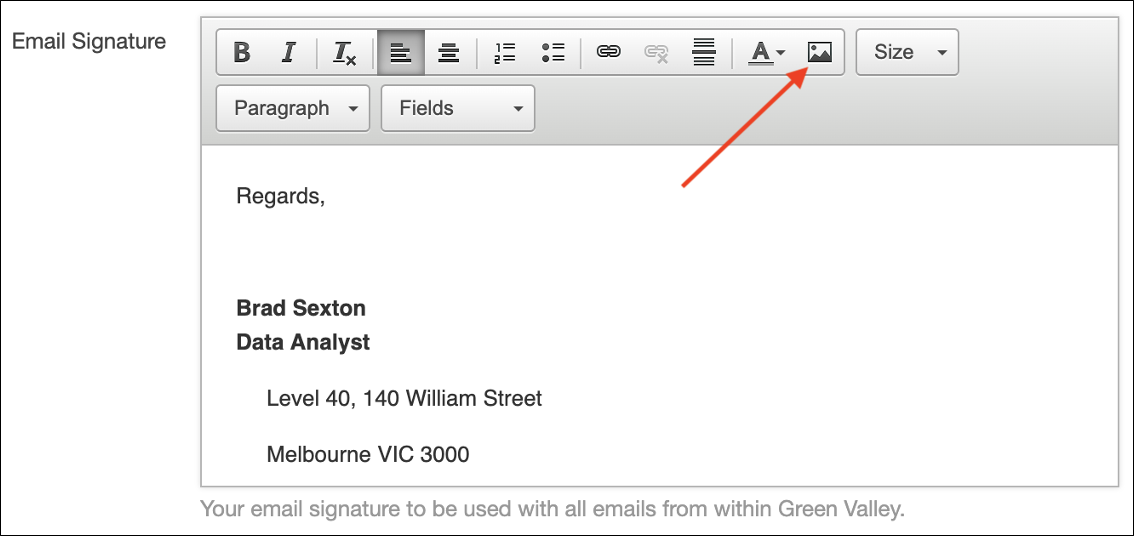
Images
Images can be included in your email signature, but only after they have been uploaded into your account server.
To enter an image into your email signature, use the following steps:
- Select the link icon in the email signature settings bar
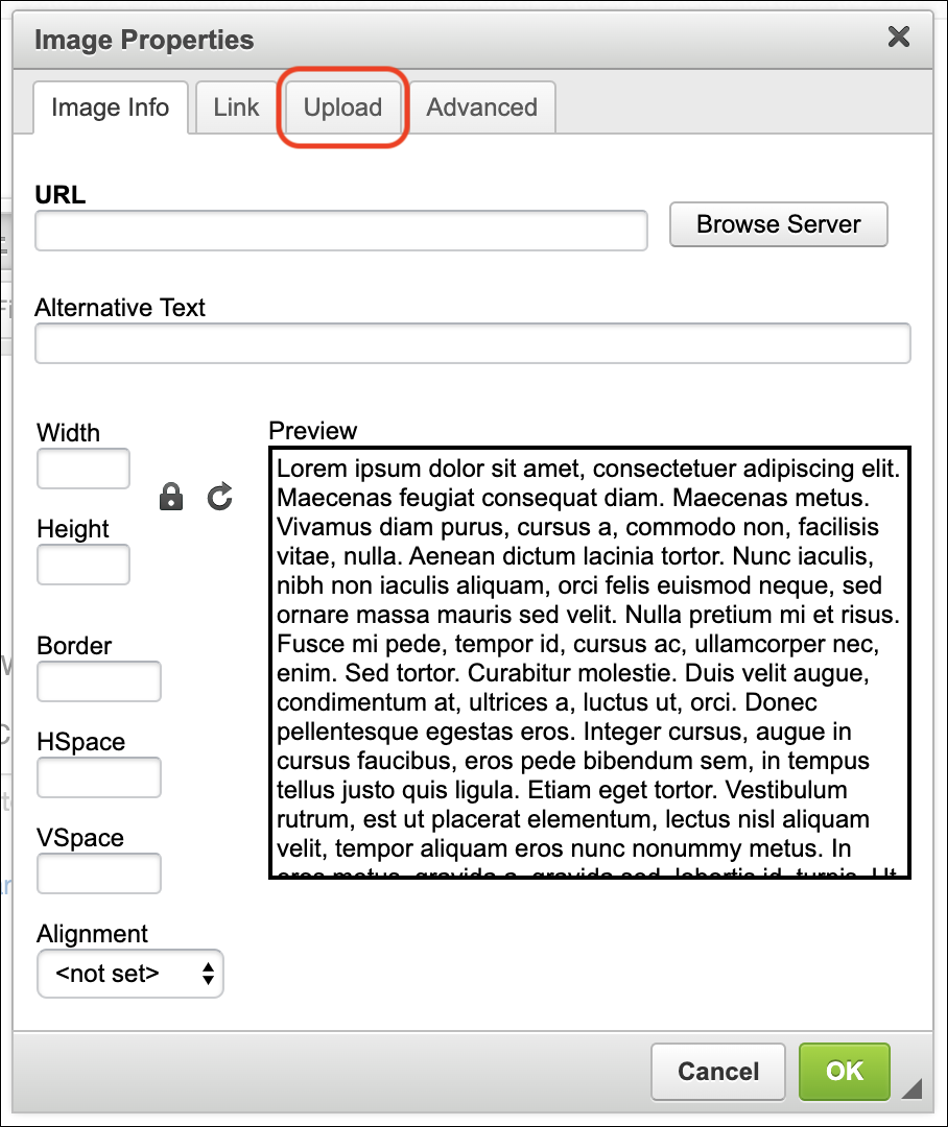
- Select Upload tab
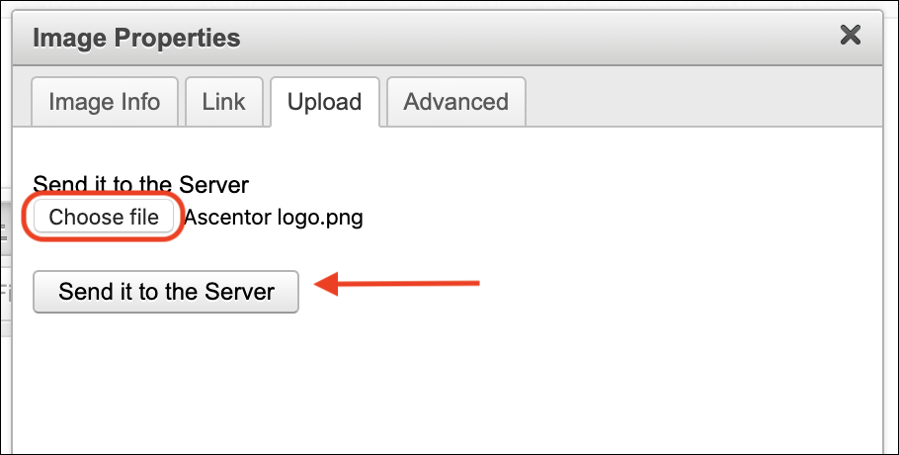
- Select Choose file and select desired image file (jpg, png) from your files
- Select Send it to the Server to make image available for selection by all account users
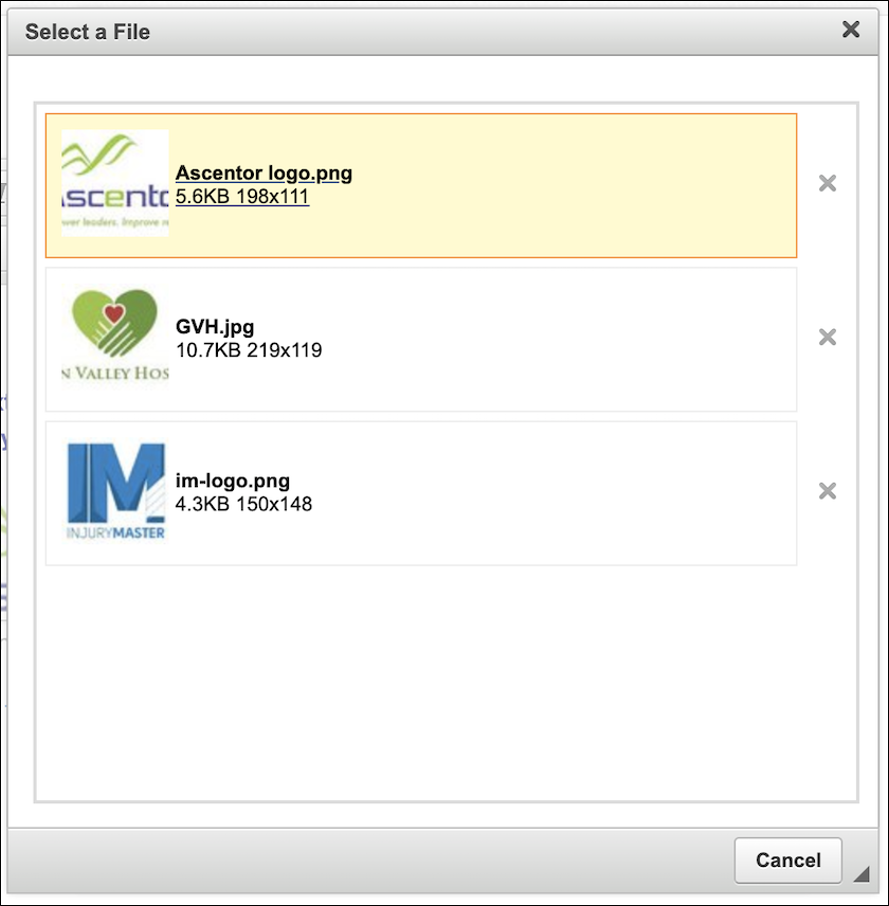
- Select Browse Server from the Image Info tab
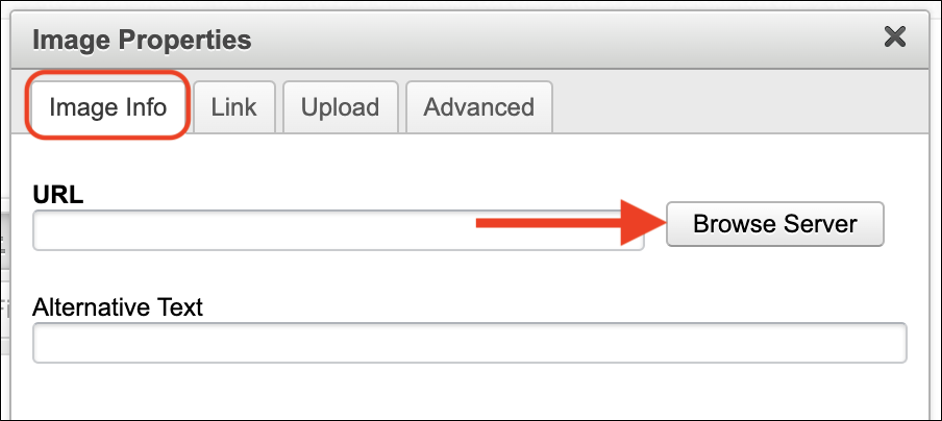
- Select a File from Server images
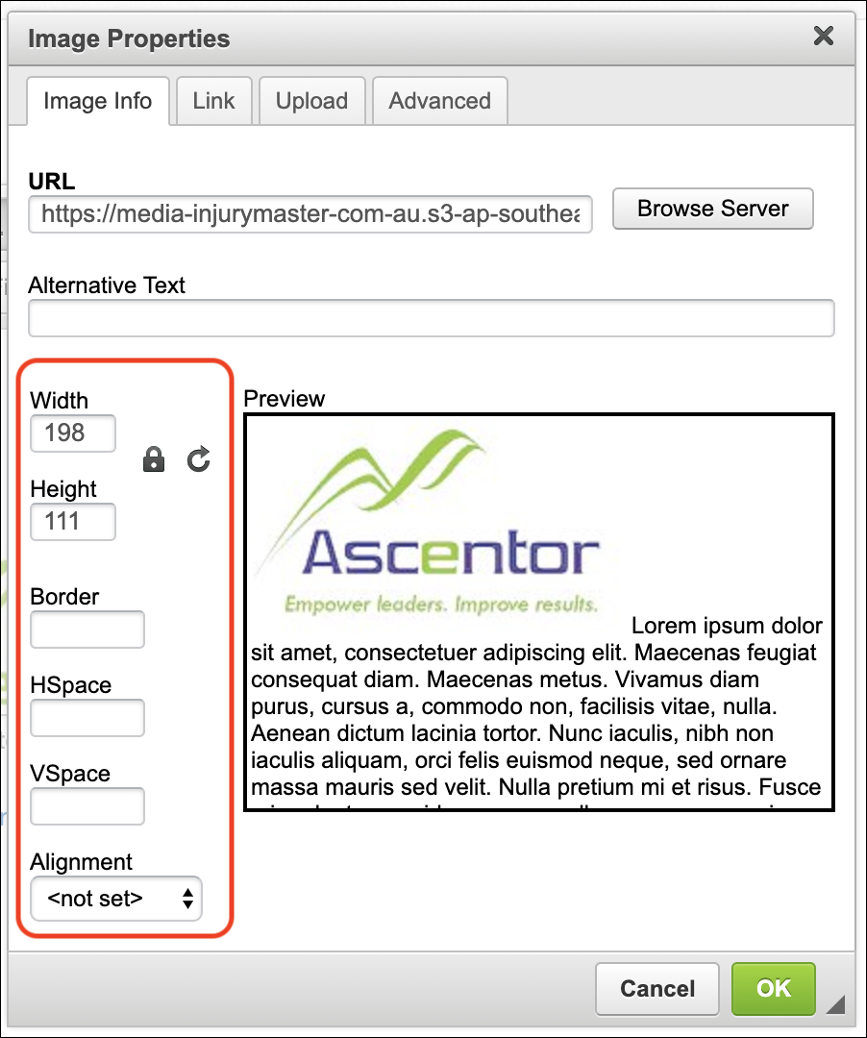
- Edit image properties as desired
- Width (option to lock/unlock/reset)
- Height (option to lock/unlock/reset)
- Border – thickness of black border around image
- Hspace – space on either side of image
- Vspace – space above and below image
- Alignment – left or right
- Select OK to enter image in email signature
If you require further technical explanation, please contact Ascentor directly.
Once you have included all of your desired information, select Save Changes to set your email signature.

When you next go to send an email out of Injury Master, your personalised email signature will be included in the system default emails in the smart field %your_email_signature%.