 Injury Master
 Claims Master
 Premium Master
 Data Master
 Master Apps
Generate / Upload Files
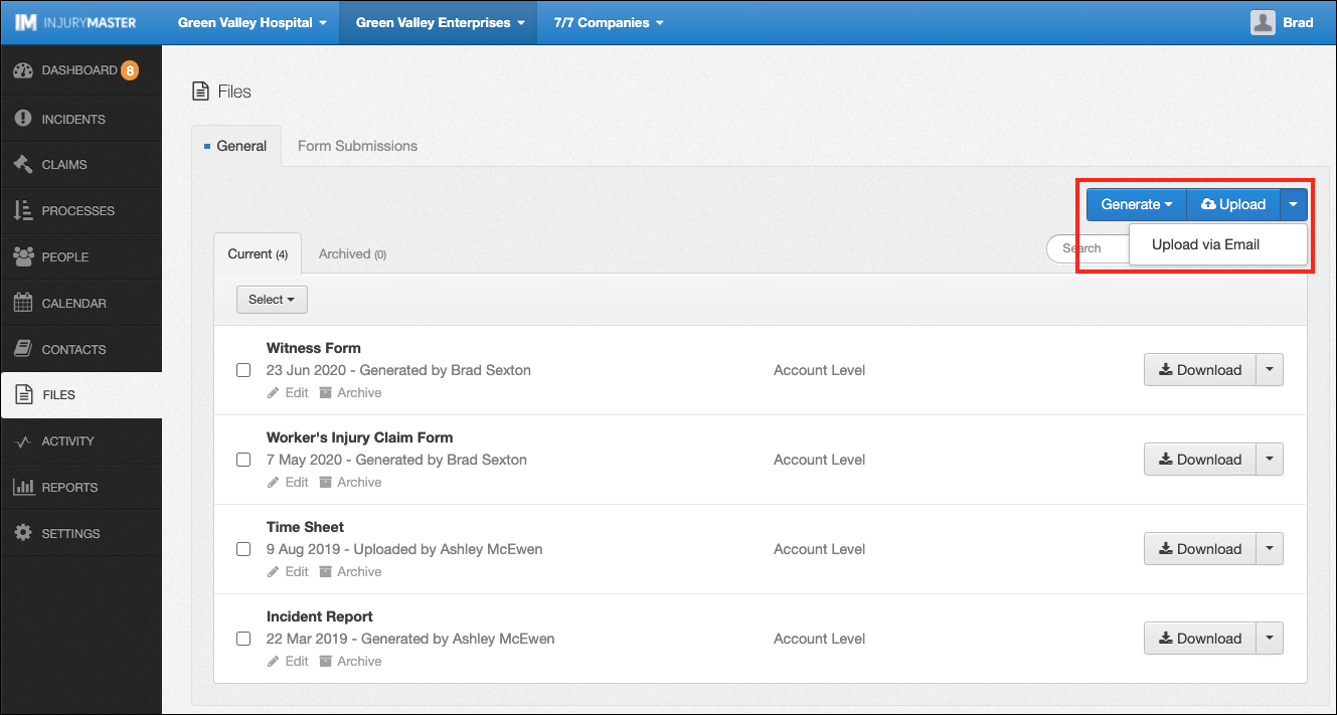
Files can be added to the Files area of Injury Master by one of the following methods, found in the blue buttons in the top right corner of the Files area:
- Generate (system Smart Forms)
- Upload (general files)
- Upload via Email (attachments)
Generate
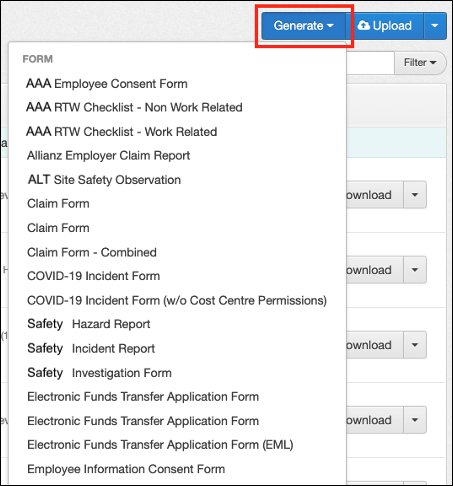
Selecting the Generate button will display a list of available Smart Forms for you to choose from. By selecting your chosen form, you will be redirected to the generate form page itself.

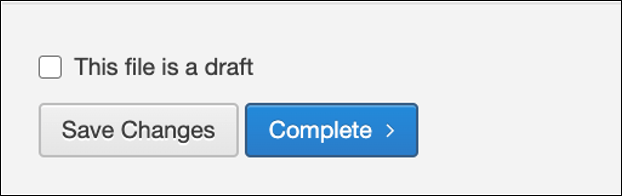
You can enter as much information as you like into the form. Once you are finished, you can either Save Changes or Complete. You can also tick the box “This file is a draft” to have your file labelled as Draft.
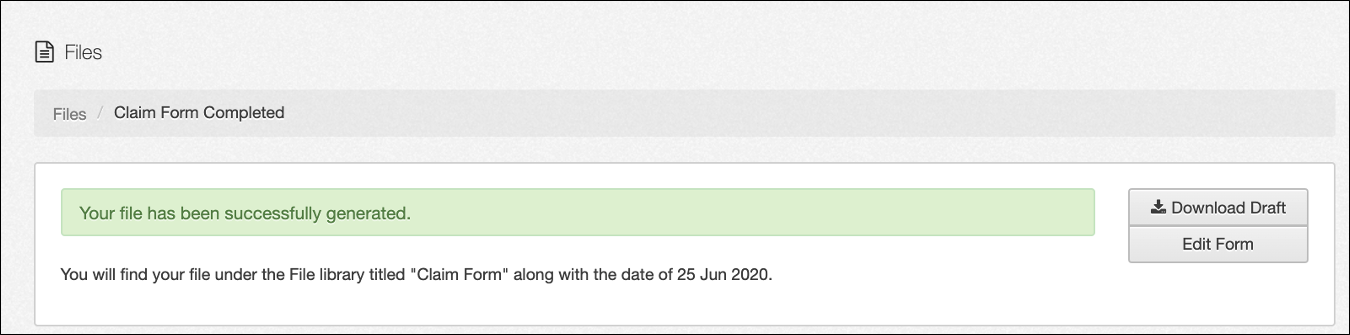
Selecting Complete will redirect you to the successfully generated alert, from where you can Download your completed form or Edit Form. You form will now appear in the Files area.
Selecting Save Changes will keep you in the generate form page, but your changes will be saved if you navigate away. Your form will appear in the Files area with an Incomplete label, as well as an Edit Form button in place of the Download option.
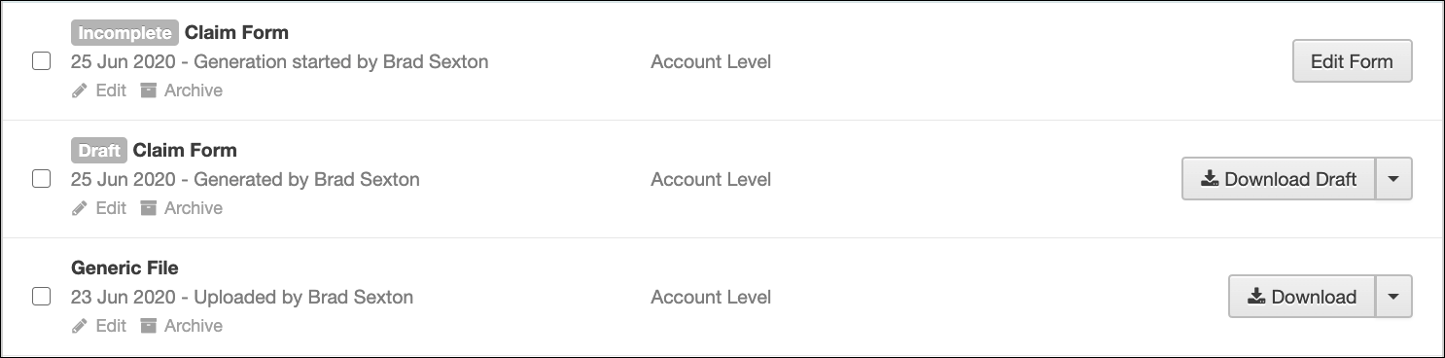
Below you can see an example of how the Incomplete (Save Changes), Draft and Complete forms appear in the Files area.
Any Smart Forms generated in Files can be further edited at any stage.
Upload
The blue Upload button will open the Upload File window, from where you can add files from your desktop. You will be prompted to enter identifying information for the file you wish to upload.
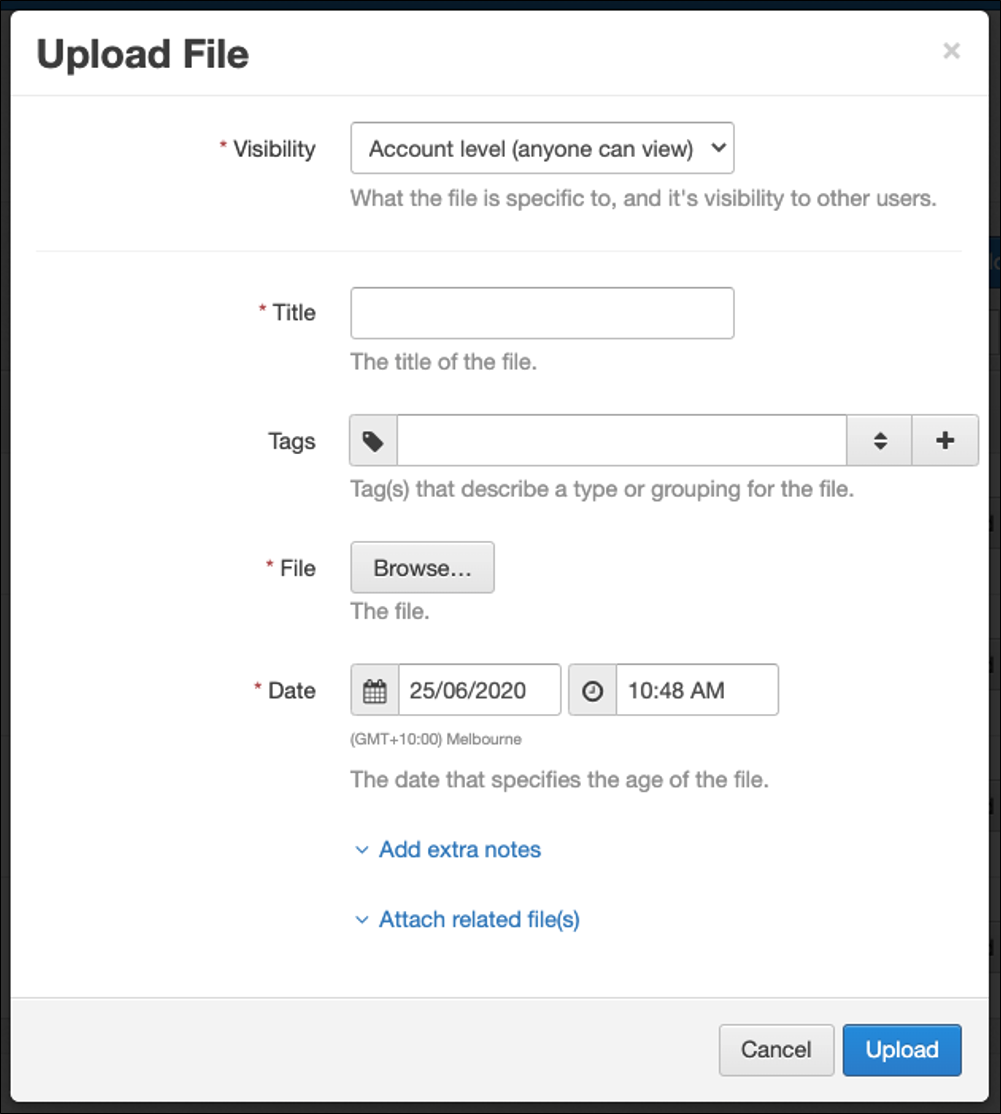
The first detail to be set is Visibility. Files can be set at 1 of 4 levels of visibility, affecting which IM Users will have access to view the file. Select the drop-down arrow to reveal the following options:
- Account level (anyone can view) – every IM User can view
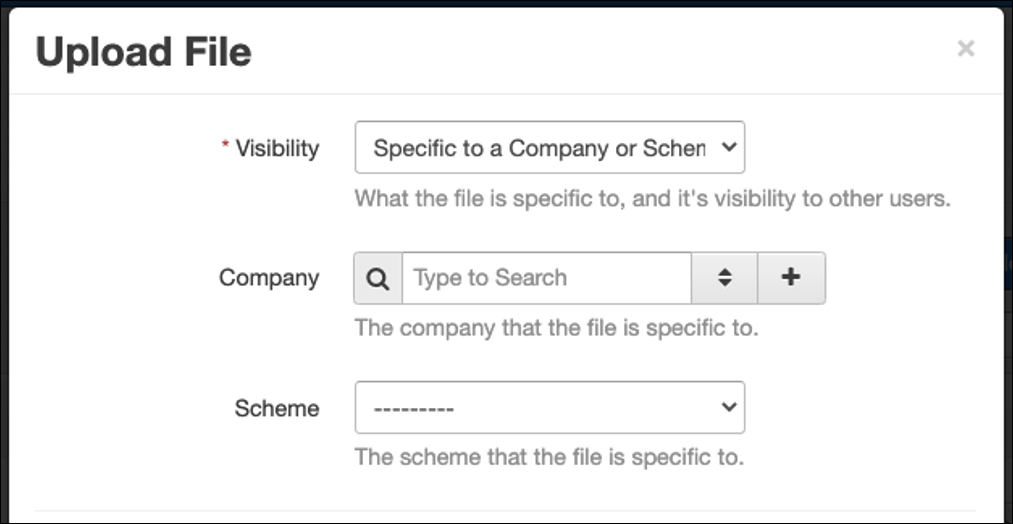
- Specific to a Company or Scheme – only Users with access to see the specified Company / Scheme can view
- Specific to a Person – only Users with access to see the Cost Centre the specified person is connected to can view
- Private (with selective sharing) – only the User setting visibility, plus any further specified Users can view
Selecting a visibility other than Account level will prompt you to then specify the Company, Scheme, Person or Users according to your selection.
Further information must be completed before file can be uploaded:
- Title – the name of the file to be displayed in the Files area
- Tags – browse existing tags or add new as coloured markers for searching / grouping
- File – selecting Browse will open your documents to select a file from
- Date – date and time of file upload can be specified (defaults to current moment)
- Notes – type optional extra notes which are displayed in the files list
- Attached File(s) – select existing file or upload another file to show as being attached to this file
Once satisfied, select Upload to save your new file or Cancel to discard and return to Files area.
Upload via Email
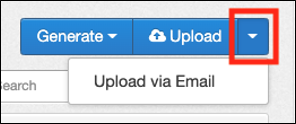
Selecting the blue drop-down arrow reveals the option to Upload via Email. Selecting this will open the Upload via Email window.
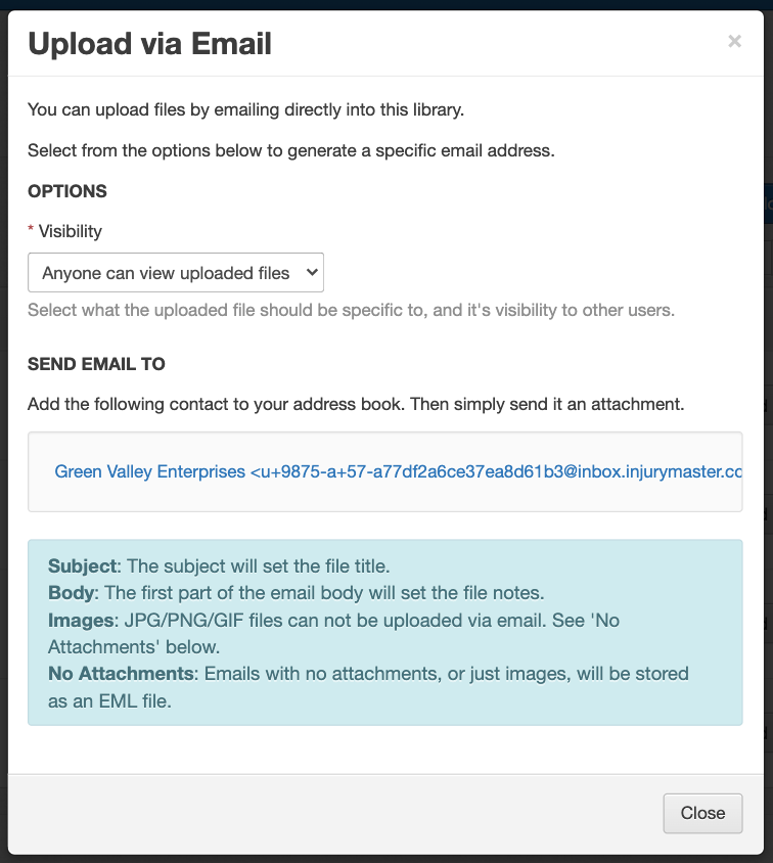
To upload files via email, copy the blue link into the address bar of your email browser. The attachments or content of the email will be uploaded into the Files area according to the explanation in the blue information box above.
Once the link has been copied, select Close to return to the Files area.
Files uploaded via email can also have visibility specified from the drop-down list under OPTIONS. Please note that your choice changes the address link, so each new email upload will require a new link to be copied.
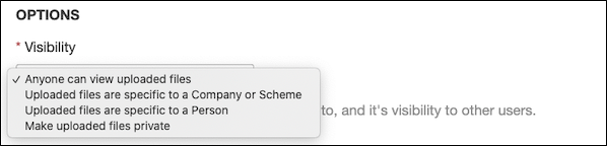
Choosing files to be specific to a Company / Scheme or Person will further prompt you to specify the company / scheme / person accordingly, similarly to the general upload. Please note that selecting “Make uploaded files private” will not prompt a further selection, but will make the uploaded file appear only to the User who created the link. Other users can later be added to the visibility settings from Edit once the file has been uploaded.