Calendar
Injury Master provides a Calendar for capturing important events, which can also be synchronised to Outlook/iCal. Events can be manually added to the Calendar, but some Event Types are also automatically generated by Actions or Documents such as Medical Certificates and Return To Work Plans. There are specific Calendars at 3 different levels.
- Account
- Incident / Claim
- Process
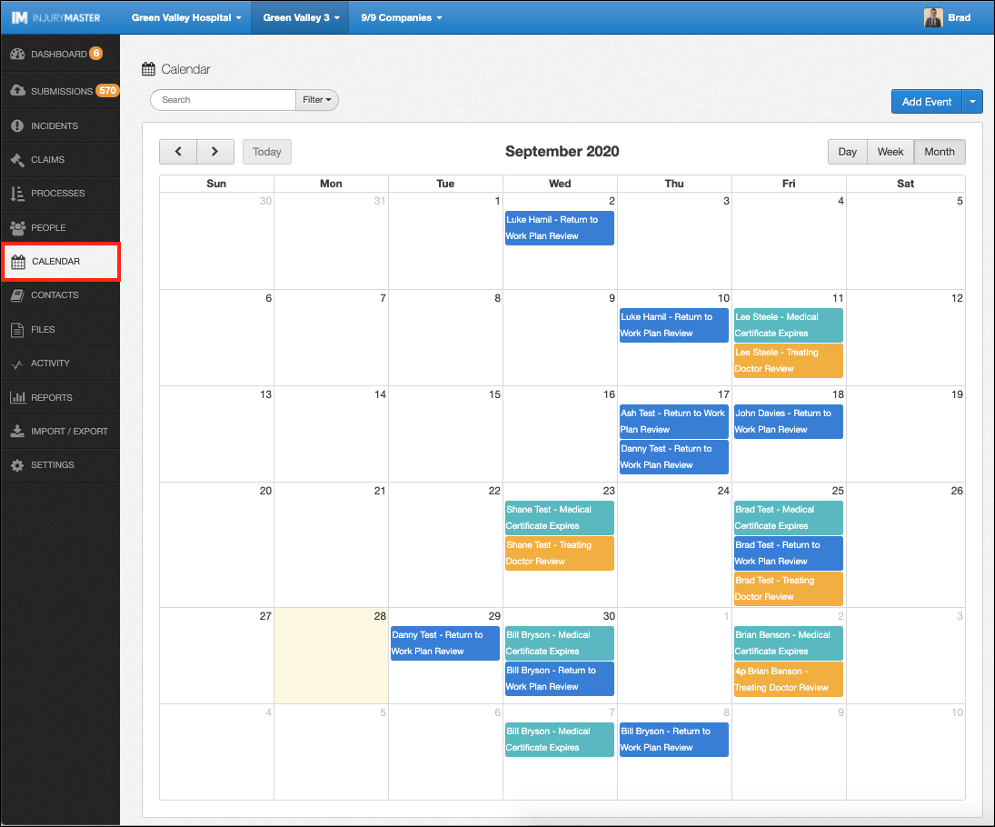
The Account–wide Calendar can be accessed from the Navigation Bar.
Viewing Calendar
The Calendar displays a full month by default. This can be changed to view a single week or single day by selecting the Day / Week / Month buttons in the top right of the calendar.


You can navigate the previous or next day / week / month from the arrows in the top left corner. If you are viewing a day / week / month that doesn’t include today’s date (highlighted yellow), the Today button will redirect you to today’s date.
Events
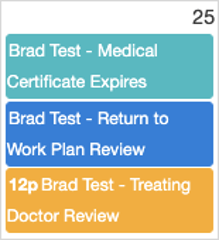
Events are displayed on particular days / times in the calendar. Events are coloured according to their Event Type and display the Time (if not All Day event), Employee name (if relevant) and Title or Type of the event.
Select the Event to display Event details including Title, Start Date (and time), End Date (and time), All Day (Yes or No), and Notes.
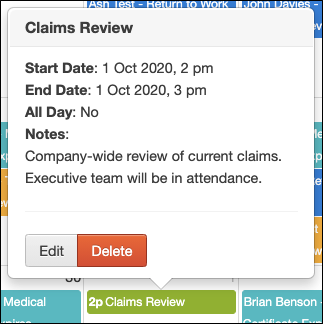
You can Edit event details or Delete events by selecting the available buttons. This is only an option if you are viewing the Event in the Calendar level it was created in. Selecting Delete will open the confirmation window. Select Delete again to confirm deletion or Cancel to close window.

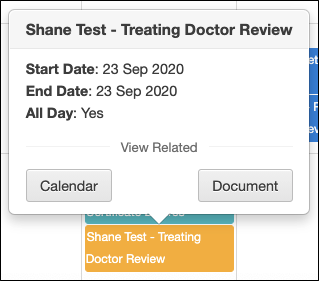
If the event relates to a particular Incident / Claim, the details show the following View Related options:
- Calendar – redirects to the Incident / Claim calendar
- Document – redirects to the specific document from where the event originated
- Note – redirects to the specific action from where the event originated
Filtering Event Types
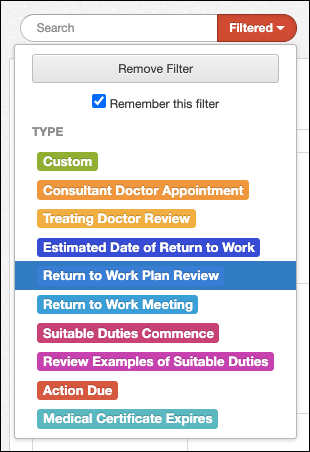
Events can be filtered by Event Type, according to the coloured tags.
For further information, please refer to Filters.
Adding Events

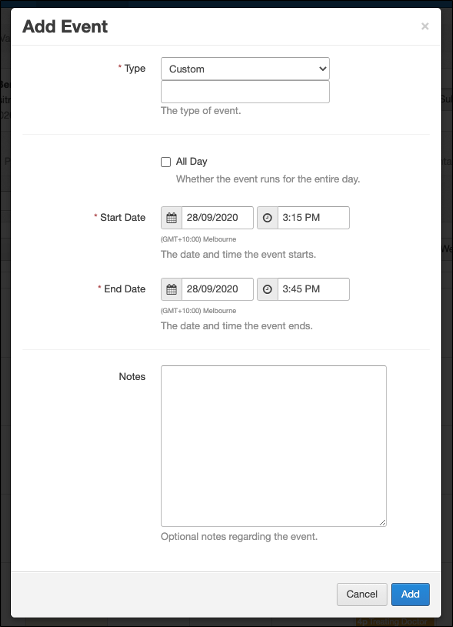
Events can be added at any Calendar level from the Add Event button in the top right corner. Complete the following details and select Add to create event or Cancel to close window.
- Type – Account level Calendar displays as “Title” and forces “Custom” type
- All Day – Marks event as “All Day” and removes time field
- Start Date (and time) – defaults to current date
- End Date (and time) – defaults to current date
- Notes
Other Options
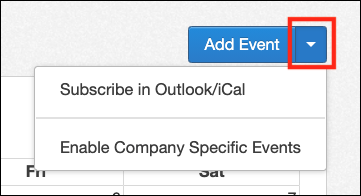
The blue drop-down arrow provides 2 further options for Calendar Events:
- Subscribe in Outlook/iCal - view IM events in your personal Calendar
- Enable Company Specific Events - Allow addition of Events specific to particular Companies
For further information, please refer to Calendar Integration or Company-Specific Entries.
 Injury Master
 Claims Master
 Premium Master
 Data Master
 Master Apps