 Injury Master
 Claims Master
 Premium Master
 Data Master
 Master Apps
Notes
The Notes feature allows you to add notes, summaries and actions to incidents support you effectively capturing information regarding the incident.
Notes added under the Dashboard tab will show in this section.
Notes Summary
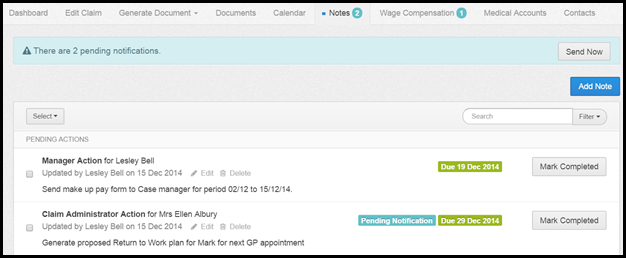
A list of notes and actions shows under the Notes tab including a summary specifying the task or action including who created the note and the date it was created and if applicable the date the task/action is due and whether or not it is complete.
Edit & Delete Notes
You can edit or delete the notes in this area.
Each note has its own edit and delete buttons.

Search & Filter
Search - You can search the notes by entering incident details into the search box on the right-hand side.
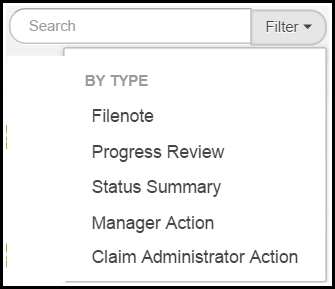
Filter - You can filter notes by the note type by selecting filter button, a drop-down will appear allowing you to select the note type you wish to filter by. Once selected click Apply Filter, please see image below.
Add Notes
To add a new note:
- Select the Add Note button – this is the blue button on the right-hand side. A pop-up will appear, as shown in the image below.
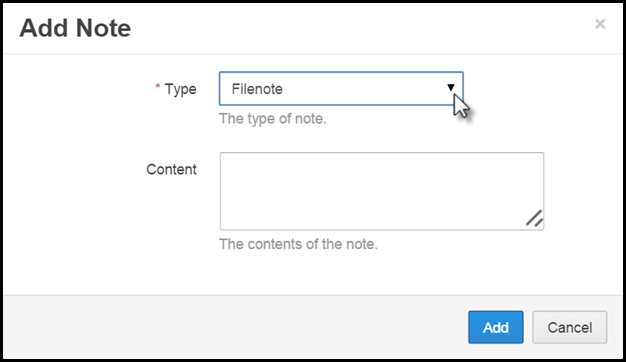
- The default Note Type is File Note, however by clicking on the drop down there are file note types you can select from:
- Filenote
- Progress Review
- Status Summary
- Actions
- Form Request
- Manager Action
- Claim Administrator Action
- Investigative Action
- Corrective Action
- If selecting Filenote, Progress Review or Status Summary enter details into the contents box, as shown above and select Add.
- If adding Actions (Form Request, Manager Action, Claim Administrator Action, Investigative Action or Corrective Action) further fields will appear in the pop up that require completing, as shown below.
By selecting an action the notes area allows you to create action plans for those involved in the claims management process.
Adding An Action
Form Request
A selection of forms can now be sent via email for the completion. The recipient will receive an email with a link to a form that will open in their browser. Once completed and submitted the forms are automatically uploaded to Injury Master. Recipients can include those without Injury Master access.
Content - This is a message for the recipient of the form request.

Assigned To - enter the name of the user. Begin typing into the field and matching options will appear in a drop down below.
Notifications - Actions are automatically set to enable notification to be sent the user/contact via email. This can be disable by deselecting the tick box.
Due Date - select the date the action is to be completed by.
Form - Select the form you wish to request from the drop down.
High Priority - select this box if you wish the action to be highlighted as a High Priority.
All Other Actions
Actions require additional details.
Content - A default list of templates is available using the drop down or the user may free type into the contents field.
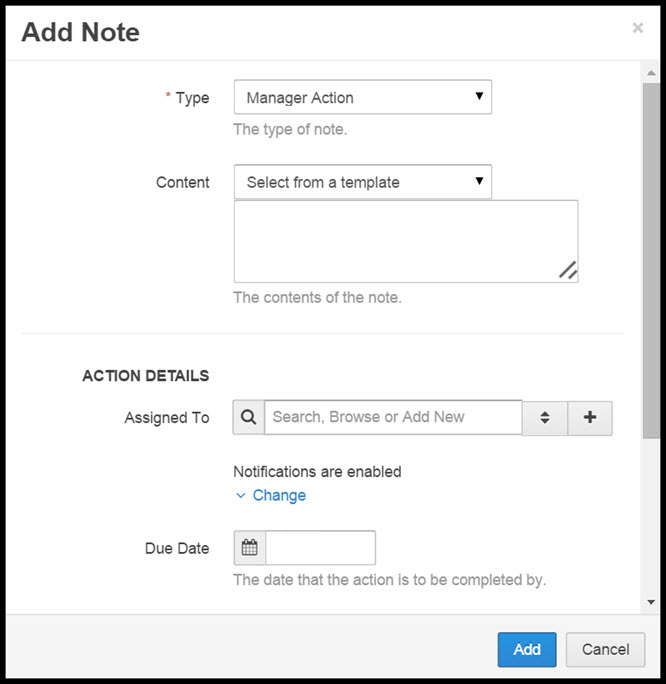
Assigned To - enter the name of the user. Begin typing into the field and matching options will appear in a drop down below.
If left blank as the user adding the action will automatically be assigned.

Notifications - Actions are automatically set to enable notification to be sent the user/contact via email. This can be disable by deselecting the tick box.
Due Date - select the date the action is to be completed by.
Document Upload - the drop down enables you to set whether a document is required to be uploaded upon completion of the action/
High Priority - select this box if you wish the action to be highlighted as a High Priority.
The Action will then be reflected in the Notes area, in the Pending Actions on the dashboard and on the Calendar.
Pending Actions
Any actions assigned to an Injury Master user will appear in their
Once actions with enabled notifications have been created they will be marked as Pending Notification.
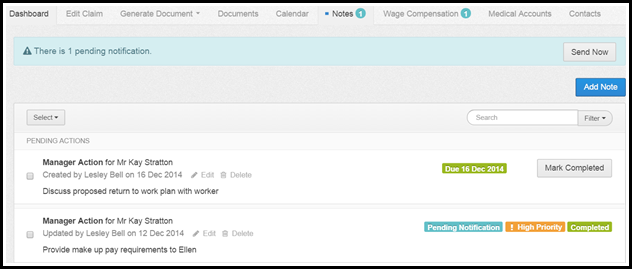
Actions with enabled notifications which are yet to be complete will have a Mark Completed button. Select this button when the task/action is complete.Once complete the note will show as complete.
Once actions with enabled notifications have been created they will be marked as Pending Notification.

Pending Notifications
A pending notification is when an action has been added to the incident but the user to which it has been assigned is yet to be notified of the action via email.
Please note if an action is assigned to an Injury Master user only the assigned user can mark the action complete.
The number of actions pending notification (to the assigned user/contact) will show at the top of the Notes tab.
- Select the Send Now button on the right-hand side to send all Pending Notifications.
- An email will pop up, as shown below.
- Select send and the assigned user/contact will be sent the pending notification to their email, as shown below.
The email sent to the user/contact will be similar to that shown in the image below.
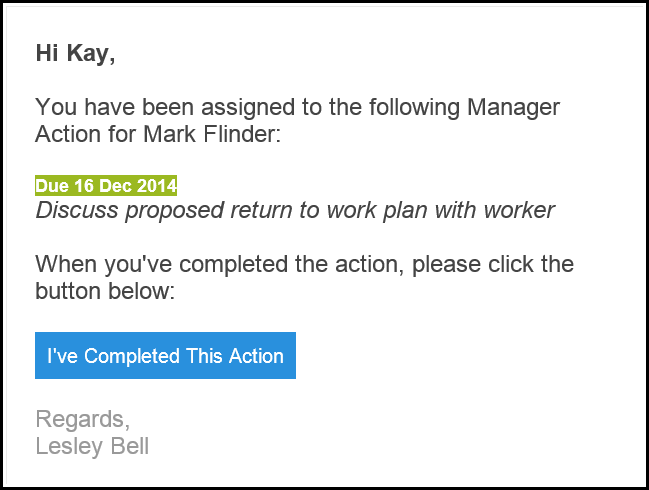
The email will remind the assigned user/contact of the action required. By selecting the blue button,'I've Completed This Action' the Injury Master system will mark the action as complete.
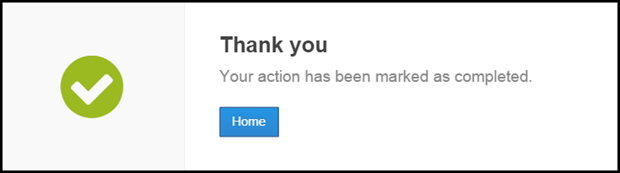
When the blue button is selected the assigned users/contacts browser will open to confirm action has been marked complete, as shown below.
This feature is especially useful to contact without user access to Injury Master as they are still able to update the system confirming the action has been complete.
Once an action has been complete it will reflect as Complete.

Once marked complete the note will move from Pending Actions but remain under the notes tab.