Document Types
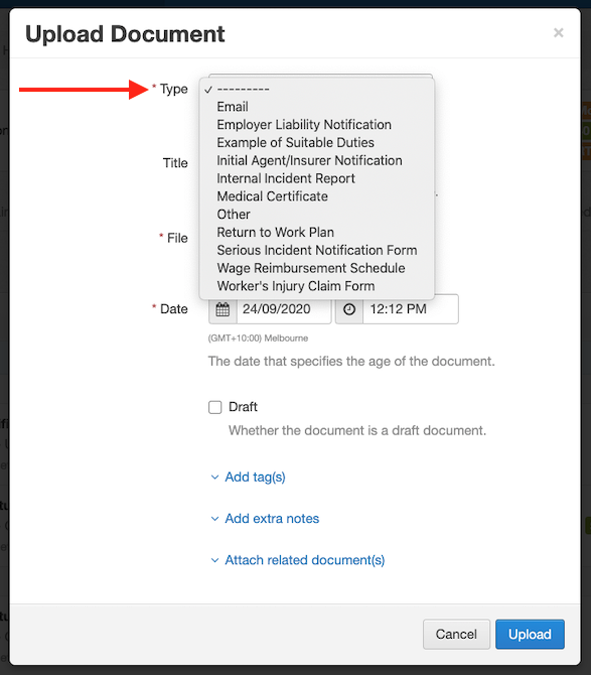
Documents in Injury Master are categorised by specific Document Types. When uploading files to Documents, the first field to select is Type (required to complete upload). Generated Smart Forms default to one of the default Document Types. Existing documents can have their Type edited at any time.
For further information, please refer to Edit Documents.
Document Type Settings
Document Types can be viewed, added, archived or replaced from SETTINGS --> Document Types & Templates --> Document Types tab. Document Types are listed alphabetically, under COMPANY in Current and Archived tabs.
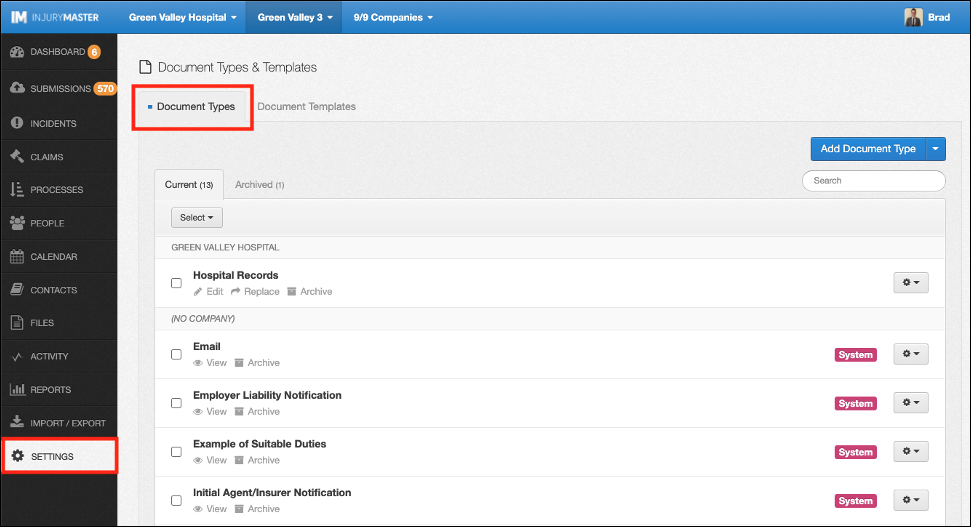
System default Document Types are marked as System. Default types include:
- Employer Liability Notification
- Example of Suitable Duties
- Initial Agent/Insurer Notification
- Internal Incident Report
- Medical Certificate
- Other
- Return to Work Plan
- Serious Incident Notification Form
- Wage Reimbursement Schedule
- Worker’s Injury Claim Form
NOTE: Document Types do not represent specific Smart Forms. For example, there may be multiple Return to Work Plan Smart Forms, all of which fit under the Return to Work Plan Document Type.
Add Document Types

To add a new Document Type, select the blue Add Document Type button in the top right corner. A window will appear requiring a Name to be entered. Choose a name, then select Add to add the Document Type or Cancel to close the window.
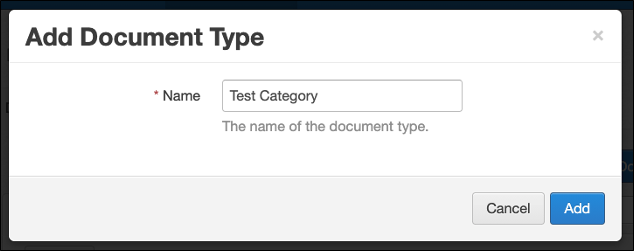
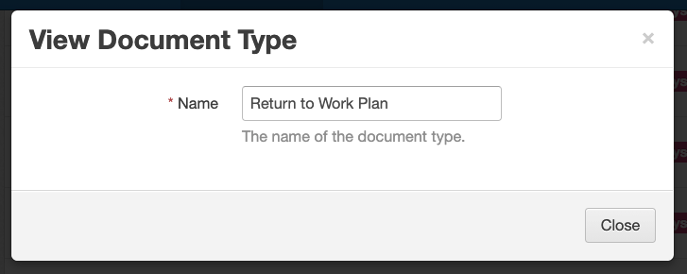
You can edit the Name at any time by selecting Edit beneath the Document Type name in the list. Select Save Changes to apply new name or Cancel to close window. Selecting View beneath the system default Document Types opens a similar window, but without the option to change the name.
Moving Document Types
As well as editing / viewing the names, Document Types present the following options:

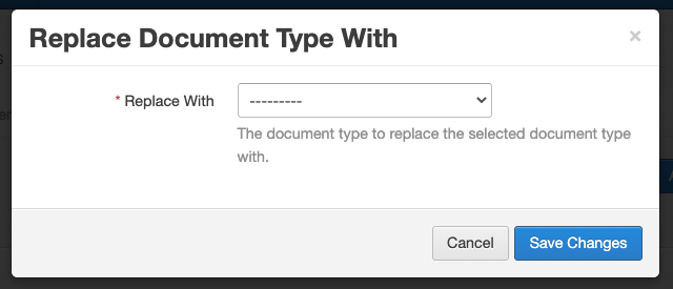
- Replace – custom document types can be replaced by other custom document types. All documents of the old Type will be replaced with the new Type. Select new Document Type from drop-down list and select Save Changes to apply.
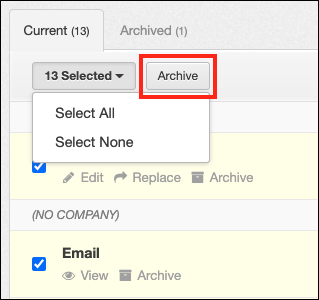
- Archive (or Unarchive) – can also be bulk archived / unarchived from Select All
- Delete – custom document types can be deleted (individually or in bulk) from Archived tab (not available for system defaults)
Confirmation window will appear before when Archive / Unarchive / Delete is selected. Select Archive / Unarchive / Delete button to apply or Cancel to close window.
Default Documents
Existing Document Types can be pre-set as the default Type when adding new documents as attachments to notes, payments or compensation periods (not applicable to attaching existing documents).
To apply Document Type as default for attachments, select the gear next to your selected Document Type. Choose one of the following options:
- Set as Note Default
- Set as Payment Default
- Set as Compensation Period Default

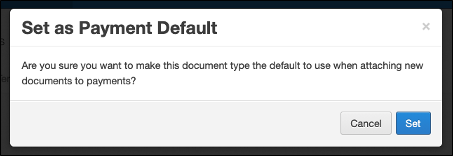
The Set as Default window will appear asking for confirmation. Select Set to apply default or Cancel to close window.
Other Document Type Options
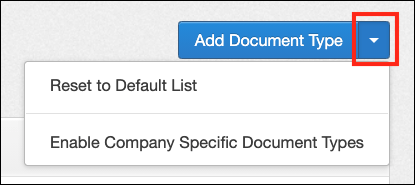
Select the blue drop-down arrow in the Document Types area to reveal the following 2 options:
- Reset to Default List
- Enable Company Specific Document Types
For further information, please refer to Reset to System Defaults or Company-Specific Entries.
 Injury Master
 Claims Master
 Premium Master
 Data Master
 Master Apps